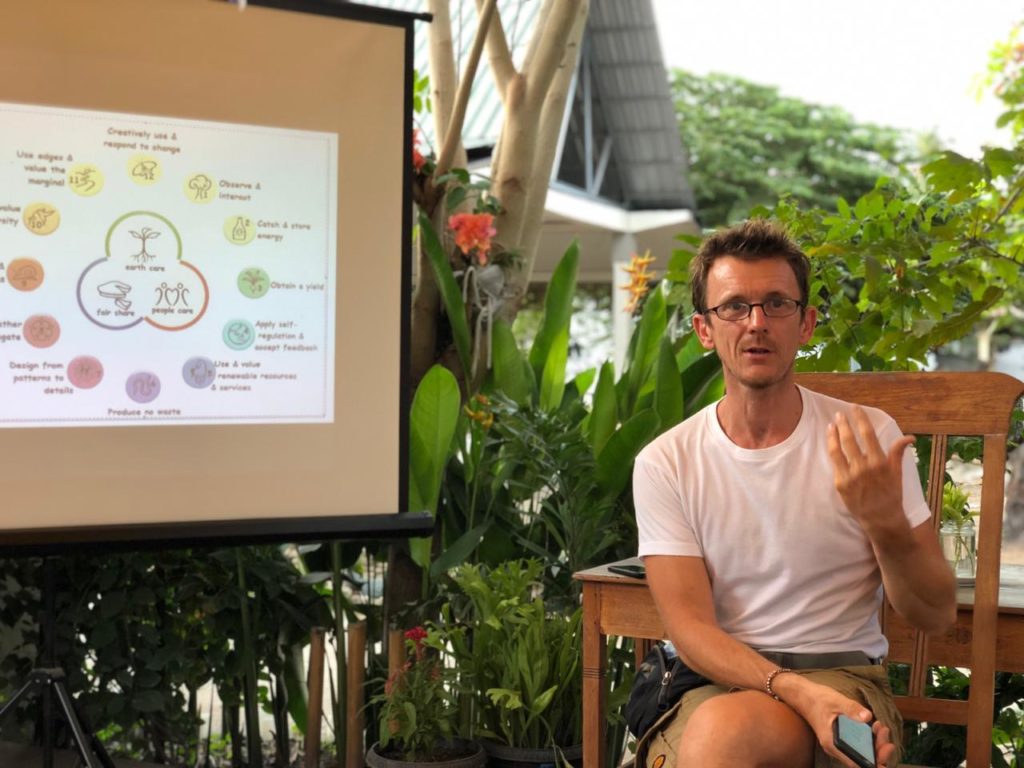
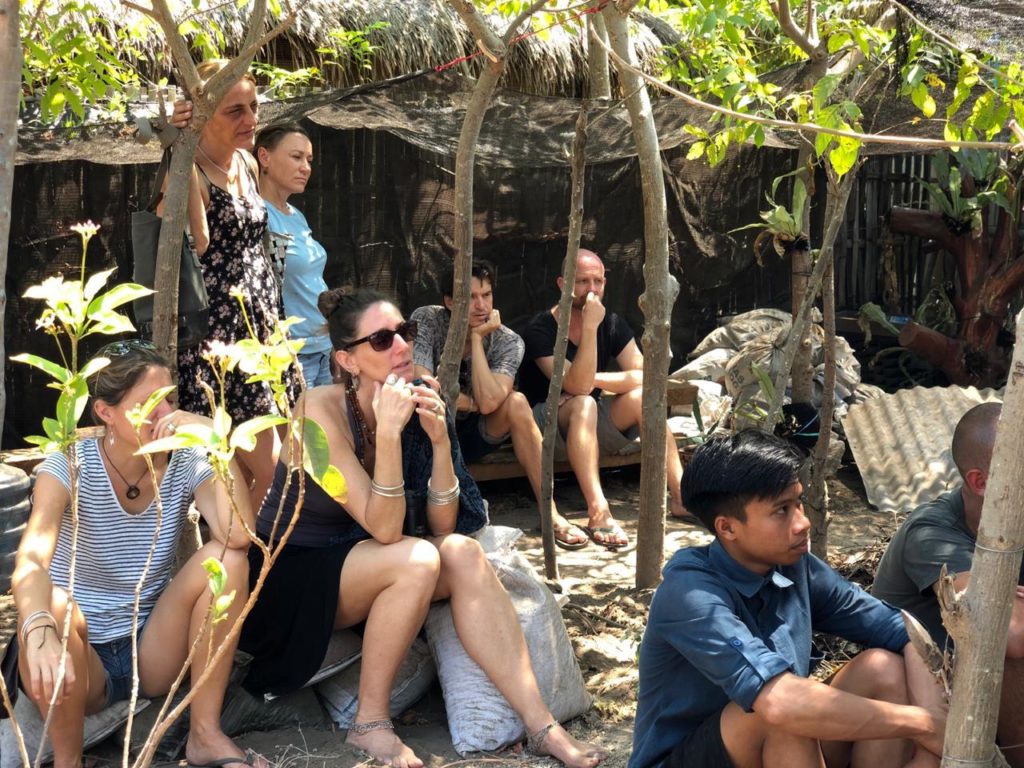
This month, we were very lucky to have Justin Robertshaw, Ayurvedic Lifestyle Consultant and Coach & Permaculture Advisor & Practitioner, visit our little tropical island. As a part of their journey towards a Zero Waste Gili Air, Slow Villas & Spa invited Justin to visit Gili Air Elementary School (SD), where he shared his knowledge on composting and permaculture.
“I am a qualified Ayurvedic Lifestyle Consultant with the American Institute of Vedic Studies, run and overseen by Dr David Frawley and upon completion of this course I continued my practical studies over the years interning with the Indian doctors at a highly respected Ayurveda Pancha Karma centre in Asia.”
“After completing a Permaculture Design Course in 2015 I spent 6 months interning at a Permaculture training centre in Bali and working on various projects in India, (including the International Permaculture Convergence in 2017 and NGO work with Schools in Kashmir) Bali and Portugal, (Mooji Sangha Bhavan).”
“My wish is to empower people to lead and maintain a truly holistic life.”
Hot Composting
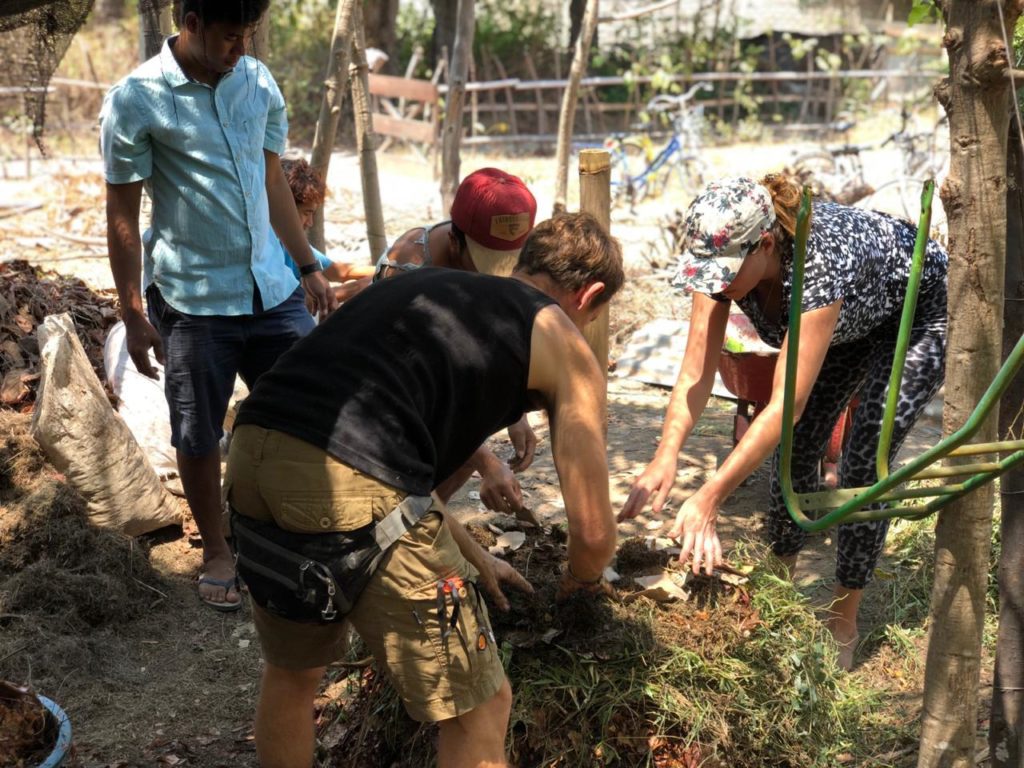
Professor Robert D. Raabe from the University of California has developed a precise compost procedure that uses all four of the compost accelerators – shredding materials, building a big pile, balancing greens and browns, and turning; to create compost in weeks, rather than months. Justin visited Gili Air to tell us more about this method, and we invited locals, expats and the kids of Gili to come join us for an exciting workshop.
“Extra effort on the part of the composter is required in exchange for this time saving, but for those who want large amounts of compost, or for those who wish to convert materials which are usually wasted into usable compost, the effort is worthwhile.“
The requirements for hot composting using the Berkley method are as follows:
1.The compost temperature has to be maintained between 55-65 degrees celsius
2.The Carbon – Nitrogen balance in the composting materials have to be approximately 25- 30:1
3.The compost heap needs to be roughly 1.5 meter high
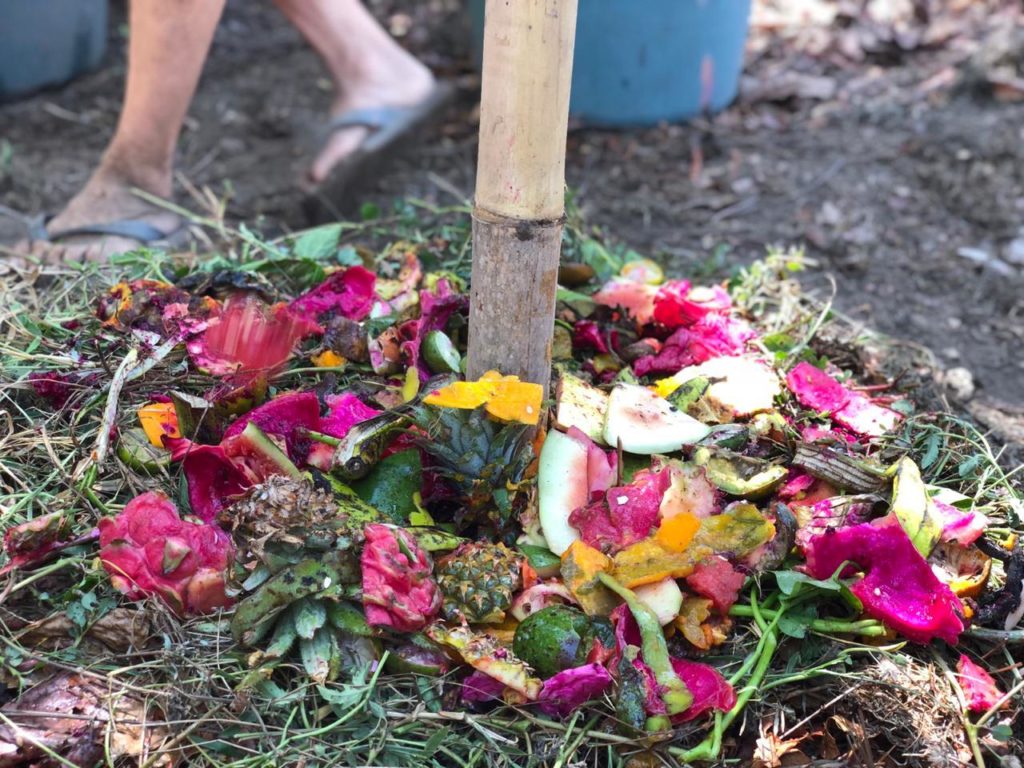
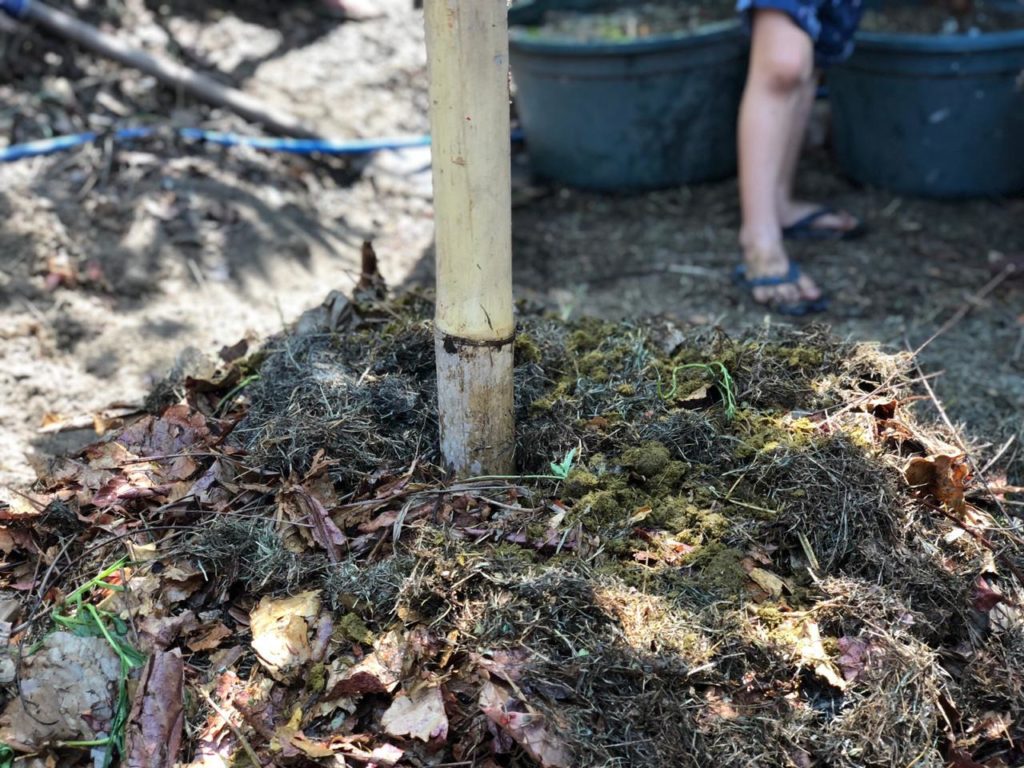
4.Make a hole and add a pole in the middle of the pile – which has to be taken out when pile is made to allow Oxygen to circulate
5.If composting material is high in carbon, such as tree branches, they need to be broken up to smaller peaces
6.Water has to be added. It’s more effective to soak carbon materials in water before layering into the pile
7.The compost has to be turned from outside to inside and vice versa to mix it thoroughly.
With the 18 day Berkley method, the procedure is quite straightforward:
1.Build compost heap – Layering Carbon at bottom and then Nitrogen with Carbon on top
2.Food scraps in the middle – adding accelerators if required/needed
3.Add water
4.4 days – no turning
5.Then turn every 2nd day for 14 days

What’s especially important when it comes to the hot composting method, is the ratio of CARBON to NITROGEN. This means that these two elements are essential to get right in order to get your composting going. As a general rule: 25-30 parts carbon to one part nitrogen. This is because the bacteria responsible for the composting process needs these two elements, in these proportions – in order to reproduce and multiply and make the composting work.
Materials high in carbon: Typically dry “brown” materials
-Sawdust
-Cardboard
-Dried leaves
-Straw
-Branches
-Other woody materials that rot down slowly
Material high in nitrogen: Typically moist “green” materials
-Lawn / Grass clippings
-Fruit and Vegetable scraps
-Animal manure
-Green leafy materials that rot down quickly
By getting the Carbon – Nitrogen level is right, you will reach the right technique of fast, aerobic (uses oxygen), hot composting. You will need to use a blend of things that rot quickly and things that rot slowly. But if the Carbon – Nitrogen ratio seems confusing, Justin has a more easy way of doing the hot composting:
“Basically, if you want to to get started in a hurry, aim to use 1/3 Manure and 2/3 dry carbon materials. It will work. Just pile alternating thin layers of greens and browns until you end up with a compost heap that is 1 metre square and a bit taller than that. There’s no real need to get caught up in the mathematics of precise C:N ratios. It’s more a matter of trying it out, though I can’t stress how easy it all is.”
“Anything that was once living can be hot composted – All manner of things, including strange additions such as wool and cotton clothing, bones, and leather boots. There’s no trace of the original ingredients when the process is complete! Remember, the greater the variety of ingredients, the better the compost, because it will have a wider range of nutrients in the final product.”
A Step by Step Guide to Hot Composting
DAY 1
Mix ingredients together by making thin layers of “greens” and “browns”. Wet the compost so well, so water is dropping out of the bottom and is saturated.
Put activator in the middle of the compost to start off the compost process. Activators can include: comfrey, nettles, yarrow, animal, fish, urine, or old compost.
DAY 5
Turn the compost heap over. This means, that you have to put the inside of the compost on the outside of the compost. This can be done by moving the outside of the pile to a new spot right next to it, and then move the inside of the old pile to the outside of the new pile. When you’re done, all the material that was inside will be outside and vice versa.
Ensure that moisture stays constant. Put gloves on and squeeze a handful of the compost materials: It should only release one drop of water.
DAY 6 – DAY 9
The compost heap should reach its maximum temperature on these days. As a simple guideline: If you can put your arm into the compost up to the elbow, then it is not at 50 degrees Celsius and thereby is not hot enough. It’s better to use a thermometer than your arm. The compost needs a temperature of 55-65 degrees Celsius.
If the compost is too hot (more than 65 degrees) – a white “mould” will spread throughout the compost. This means that the compost is short of oxygen. It will disappear when the temperature drops.
Turn the compost heap over every second day (on day 6 and again on day 8).
If compost gets too hot and smelly and thereby goes down in size, it has too much nitrogen. This means, that it needs to slow down. Throw in a handful of sawdust per pitchfork when turning.
DAY 11 – DAY 17
During these days, you should continue to turn the compost every second day.
DAY 18
The compost should now be warm, dark brown and smell good. When earthworms move into the compost, you know it is finished and ready, because it’s cooled down and full of nutrients.
Important notes:
-Protect from heavy rain or too much sun
-Compost heap should be about 1,5m x 1,5m
-Make the compost where a lot of space is available
-Water each layer until it is moist as you build the heap
-Frequent turning and aeration is the secret of successful composting
-Turn the compost using a garden fork, or even better, a long-handled pitchfork
-In cold or wet weather, you can cover the compost heap with a tarp or plastic sheet
How do you feel? Inspired? Let’s get our hands dirty together! Let us know if you would like to know more about composting. Let’s change the world together, one island at a time. Thank you to Justin Robertshaw for coming to Gili Air to teach us and inspire us, and big thanks to Slow Villas & Spa for inviting Justin to our little island.